Adding google places api to your reactjs + redux form application
- Travis Martin
- Oct 28, 2020
- 4 min read
Updated: Oct 30, 2020
This post I am going to assume you have your API key already setup, if you do NOT have it ready please read up on how to signup for a key I "think" its free. Also assuming you have reactjs installed as well.
Step 1 building your react application
Build your reactjs application with command below skip if you have an existing application.
create-react-app google_places_exampleStep 2 app setup / clean up
I generally delete all the contents of the src/ directory and start from scratch, it is a good habit to get into, eventually it becomes second hand. Navigate into the google_places_example project and delete all the contents from the src/ directory.
Next we will add some additional node packages: redux, react-redux, redux-form, axios, redux-thunk. I will break this into a few commands, each package will be used and should be installed.
npm install --save redux react-redux
npm install --save redux-form
npm install --save axios redux-thunk
Step 3 Setup the redux store
We can get the application up and running by setting up test data in the reducers. I will also add the formReducer from "redux-form" later use it to connect the google places api.
Lets setup the src/index.js file adding the redux store to the app, then I will setup the src/reducers/index.js that will combine all the reducers.
src/index.js
import React from 'react';
import ReactDOM from 'react-dom';
import { Provider } from 'react-redux';
import { createStore, applyMiddleware, compose } from 'redux';
import reduxThunk from 'redux-thunk';

import App from './components/App';
import reducers from './reducers';

const composeEnhancers = window.__REDUX_DEVTOOLS_EXTENSION_COMPOSE__ || compose;
const store = createStore(
 reducers,
 composeEnhancers(applyMiddleware(reduxThunk))
);

ReactDOM.render(
 <Provider store={store}>
 <App />
 </Provider>,
 document.querySelector('#root')
);
Next setting up the reducers, using the combineReducers adding the formReducers, and any other reducers your application uses.
src/reducers/index.js
import { combineReducers } from 'redux';
import { reducer as formReducer } from 'redux-form';

export default combineReducers({
 replaceMe: () => 'TEST DATA' // Not needed after setup.
 form: formReducer // Use this later for redux form
});
Step 4 setting up the components for redux-form
Finally we setup the components for the search field I plan on keeping it simple but also breaking into components that will make it kinda more "realistic" ish.
App.js setup
Simple we have a SearchBar component within the App component, the SearchBar component will contain all the functionality to perform a google place search.
src/components/App.js
import React from 'react';
import SearchBar from './search/SearchBar';
class App extends React.Component {
onSearchSubmit = (formValues) => {
console.log('onSearchSubmit called from App component...');
console.log(formValues);
};
render() {
return (
<div>
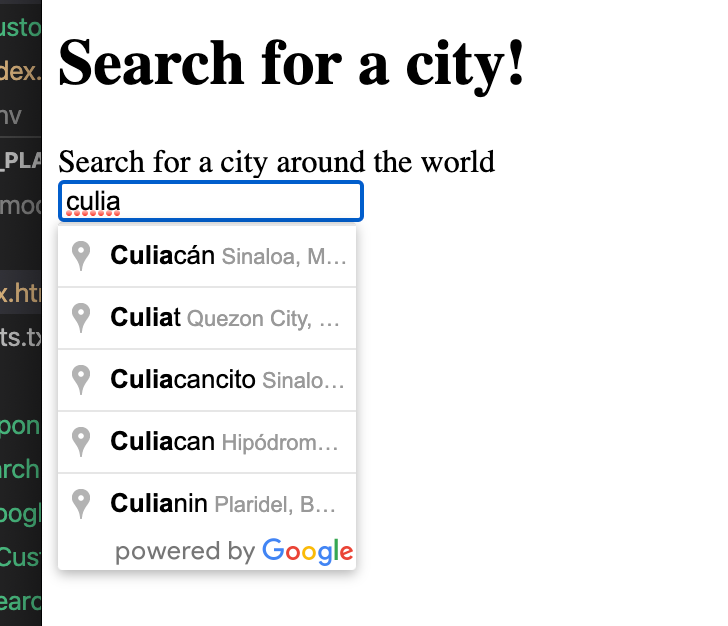
<h1>Search for a city!</h1>
<SearchBar handleSubmit={this.onSearchSubmit} />
</div>
);
}
}
export default App;Setting up .env file to hold the google_api key
This file should be stored in the root directory
.env
REACT_APP_GOOGLE_API_KEY=PUT_YOUR_API_KEY_HERESearchBar.js setup
Before we setup the SearchBar component we need to include the google <script> tag into the public/index.html. Include the `%REACT_APP_GOOGLE_API_KEY%` I will be adding the .env file at the root directory. This will add extra security so your API key does not get added to your git repo / version control, I will be adding mine however its not advised you add your hidden api keys, or at least limit them to your domain name.
public/index.html
Add this tag between the <head/> and <body> as long as its loaded in before we start the search process, or an error will be returned.
 <head/>
 <script src="https://maps.googleapis.com/maps/api/js?key=%REACT_APP_GOOGLE_API_KEY%&libraries=places"></script>
 <body>
Setting up the SearchBar component its a lot of code, however, most of it is setup code. The key parts are the <Field> and renderCustomAutocomplete that does the actual rendering of the component. Notice that I keep everything contained within the <Field> tag this will allow redux-form to process the information and add it to the redux store.
src/components/search/SearchBar.js
import React from 'react';
import { Field, reduxForm } from 'redux-form';
import { connect } from 'react-redux';
import CustomGoogleAutocomplete from './google/CustomGoogleAutocomplete';

class SearchBar extends React.Component {
 renderCustomAutocomplete = ({ label, meta, input, id }) => {
 return (
 <div className="field">
 <label>{label}</label>
 <CustomGoogleAutocomplete input={input} meta={meta} id={id} />
 </div>
        );
    };

 onSubmit = (formvalues) => {
 // this makes the call to parent component App.js
 this.props.onSubmit(formvalues);
    };
 render() {
 return (
 <form
 className="ui form"
 onSubmit={this.props.handleSubmit(this.onSubmit)}
 >
 <div>
 <Field
 name="search_field"
 component={this.renderCustomAutocomplete}
 label="Search for a city around the world"
 placeholder="Search for a place in the world?"
 id="search"
 />
 <button type="submit" className="ui button primary">
                        Search
 </button>
 </div>
 </form>
        );
    }
}

const mapStateToProps = (state) => {
 return state;
};
SearchBar = connect(mapStateToProps)(SearchBar);

export default reduxForm({
 form: 'SearchForm'
})(SearchBar);
CustomGoogleAutocomplete.js Final component that encapsulates google places
One thing that redux-forms / Field limits is us to the input and meta props, to update the input prop we can use the onChange method to update the input object just need to pass the correct update value.
src/components/search/google/CustomGoogleAutocomplete.js
import React from 'react';
class CustomGoogleAutocomplete extends React.Component {
constructor(props) {
super(props);
this.state = this.initialState();
this.onAddressChange = this.onAddressChange.bind(this);
this.autocomplete = null;
}
componentDidMount() {
this.autocomplete = new window.google.maps.places.Autocomplete(
document.getElementById(this.props.id),
{ types: ['geocode'] }
);
this.autocomplete.addListener('place_changed', this.onAddressChange);
}
initialState() {
return {
formatted_address: ''
};
}
onAddressChange(address) {
const { input } = this.props;
const { onChange } = input;
let addressObject = this.autocomplete.getPlace();
this.setState({
formatted_address: addressObject.formatted_address
});
onChange(this.state.formatted_address);
}
render() {
const input = {
type: 'search',
value: this.state.formatted_address,
onchange: this.onAddressChange
};
return (
<div>
<input
id={this.props.id}
autoComplete="off"
placeholder="enter a city"
input={input}
/>
</div>
);
}
}
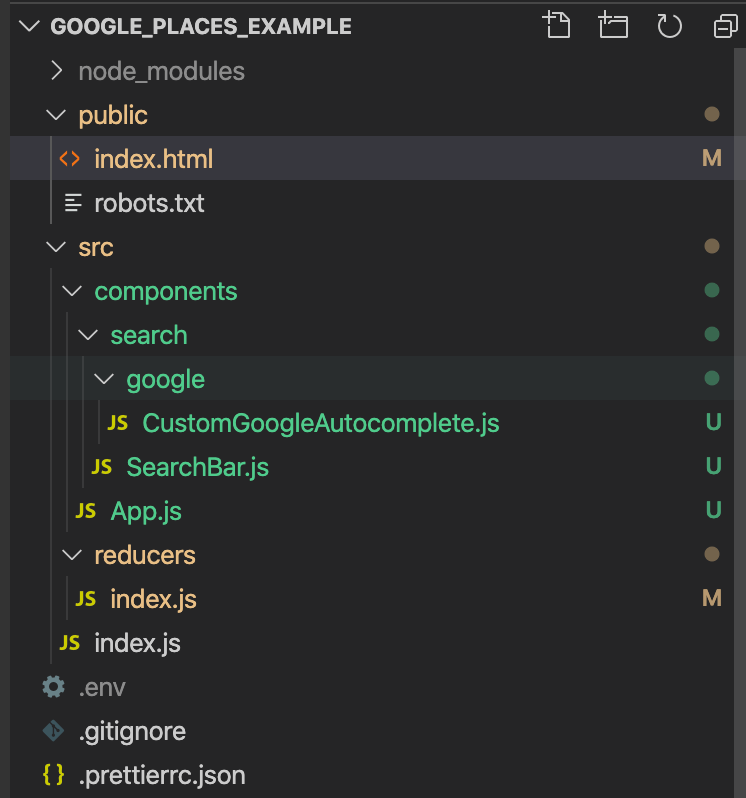
export default CustomGoogleAutocomplete;Directory Layout
Finished product
Code is available at my github.com
https://github.com/travism26/blog_code_google-autocomplete
Comments